Basics of embroidery tapestry seam
Who and when began to decorate their outfits, and thento create whole canvases with the help of embroidery, of course, is unknown. This is one of the oldest types of needlework. Today, there are many embroidery techniques. With iron, cross and tapestry seam, the craftsmen manage to create whole masterpieces that delight all without exception. But those who are just starting to master embroidery, do not rush to do a lot of work. You must first practice on small items.
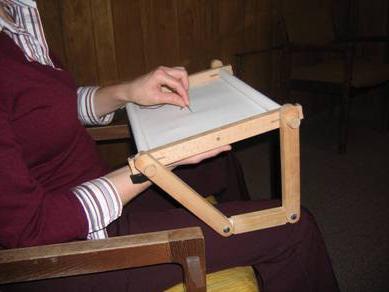
Required Tools

To make a tapestry suitable fabric orCanvas with a well-visible interlacing of threads so that they can be easily counted. Still need a special needle with a blunt end, thread a mule in several additions, as well as a hoop with a screw and scissors. For some types of embroidery tapestry seam may require a special hook for such needlework. When choosing threads, you should give preference to floss in at least 6 additions or wool for embroidery. This is necessary in order to create a tight, without gaps, drawing.
Technique of embroidery with a tapestry suture
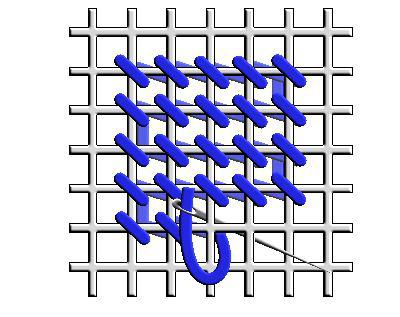
The very embroidery technique is as follows. It is necessary to pass the needle from the upper right corner with the thread into the lower left. Then repeat the stitches as many times as necessary to embroider this color according to the scheme. It is important to remember that when working with tapestries, the underside should completely repeat the drawing from the front side. Once the work is finished, the thread is secured from the back, just passing it through a few stitches. It is important that the embroidery was tight, and the pattern fell flat.
Little tricks
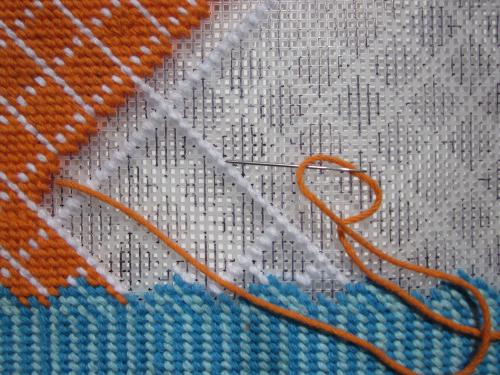
Beginner needlewomen often confuse the tapestryseam with a semicircle. However, these are two fundamentally different techniques. When using the second seam on the wrong side, the stitches will be vertical, and the first creates the illusion of a woven fabric on both sides. In addition, the tapestry requires 2 times less threads. Pictures made with a tapestry seam are more light and airy. So do not replace one with another.