Installation of sockets in drywall: instructions. Installation of jigs
Sheeting of walls with sheets of plasterboard is one of the mostpopular ways of finishing. It hides all the irregularities of the main partitions and serves as an excellent basis for subsequent assembly work. For example, installing an outlet in gypsum board will not make any difficulties, even for novice electricians.
Tools and materials
For work you will need:
- Drill for making holes in plasterboard, with a suitable cutter. The standard size of the jug is 68 mm, which means that the cutter diameter should be the same.
- The two screwdrivers are curly, for the direct installation of the socket, and the indicator screw to check the voltage level.
- Building marker, for precise marking.
- Level.
- A knife and a drill if the drill with the cutter was not at hand.

Beginning of work
Before proceeding with the installation of the sockets andswitches in gypsum board, carefully consider the wiring diagram. Thanks to it, you will immediately see where it is necessary to make holes. In the center, mark with a marker to make it easier to drill afterwards.
If it is intended to install not one but the wholea block of outlets, you will have to plaster the plasterboard in several places in a row. The main thing is to use the building level, so that all the outlets are located at the same height from the floor. On which one - GOST does not impose strict standards on this, but there are certain standards.

At what height are the sockets?
Before you choose a location and start installing boxes for sockets in drywall, you need to think about their intended use. Much depends on your own convenience.
According to generally accepted European standards,the distance from the outlet to the floor is 30 cm, and the switch should be located at a height of 90 cm. At the same time, 18 cm from the center of the switch to the edge of the doorway, without taking into account the casing and the box itself.
These standards are very convenient for mounting in plasterboard. However, there are various everyday situations that require an individual approach.
- In the kitchen, the sockets are often placed above the surface of the countertop. Their height, as a rule, corresponds to 1.2 m.
- If you have a PC or an aquarium in the living room, it makes sense to set the outlet to a height much higher than 30 cm from the floor in order to get rid of the wires that get under your feet.
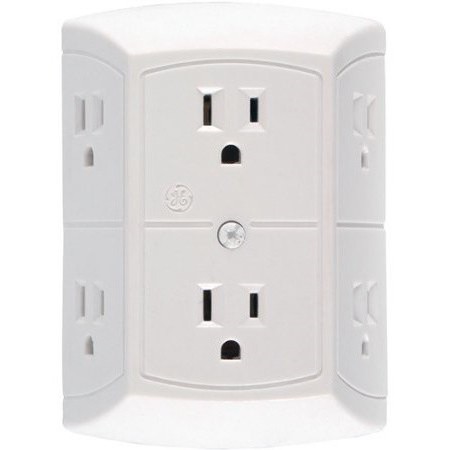
- In the bathroom installation of double sockets in gypsum cardboard - under the washing machine and other household appliances - is made at a height of 1 meter.
After the markup is finished, the milling cutteris installed in the center of the marker, then you can start to drill drywall. If everything is done accurately, even a novice master can easily cope with the task.

How to make a hole without a cutter?
In amateur electricians, otherinstruments. For example, you can outline the contour of the jigsaw, then drill it with a drill and cut it with a knife. However, the minus of this method is the uneven edges of the future hole, which will complicate the installation of the outlet in the gypsum board.
In addition, the gypsum board itself is a materialFragile, which can easily break with careless pressing. Therefore, it is recommended to use a special cutter with a diameter of 68 mm. The same milling cutter (crown) is used in electrical work when installing spotlights.

And if the installation of drywall is already completed?
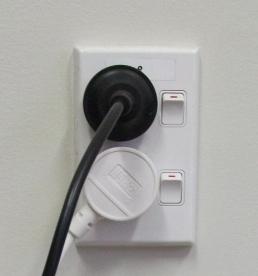
If the installation work carried out hiredbuilders, then for sure they have aesthetically completed the installation of gypsum boards, removing the wires into a small hole. In this case, drill a place under the socket is also real.
The wire protruding from the hole must be bentmaximally upward and neatly, so as not to touch the insulation, just below it, drill a hole to install the juniper. If you are confused by protruding wires, do not worry: afterwards the decorative frame will close not only the hole itself, but approximately 1 cm of wall along its diameter.
Another option is to push the wires inside the walland then, using a drill in a special crown to make a hole in the place of its exit. It is important to make sure that the cutter does not cut the wire by falling through.

Installation of jigs
Fasten the jar in the work done ingypsum cardboard hole is not difficult. On its body there are fastenings for both the outlet and the box on the wall. First of all, it is necessary to remove the wires from the strobes and cut out holes for them in the plastic receptacle. Then it is installed in a drywall and fixed with screws. An additional degree of fixation will be provided by special presser feet.
The height of the standard podrozetnik is 4.5cm, which means that the same should be the size of the gap between the plasterboard and the bearing wall. If the gap as a result of installing the plate turned out to be less, you will have to use a perforator to make a small cavity in the concrete. In any case, everything should be calculated before the installation phase and provide for possible inconveniences.

Electric installation work
When the installation of podrozetnikov completed, you cango to the electrical wiring. Do not forget to first find the lead-in shield and turn off the power supply. And also, using the indicator screwdriver, check the voltage of the wires.
How to connect the outlet:
- First you need to disassemble it and remove all plastic parts.
- Then unscrew the terminal screws. In them you will insert the appropriate wires.
- If the installation of boxes for sockets in gypsum cardboard in the previous stage was successful, they can easily be inserted and the outlet itself. It is fastened with special "paws".
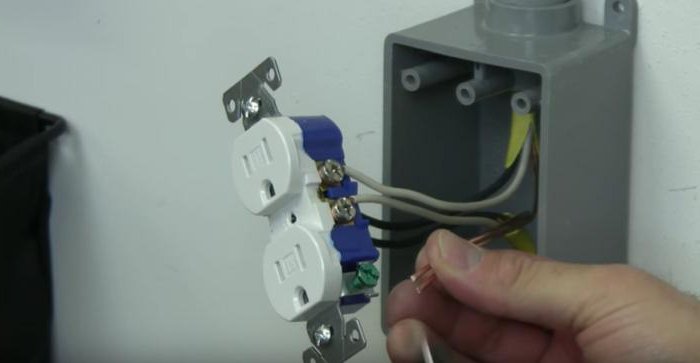
To install the outlet in the gypsum board it is necessary to connect to the corresponding terminals:
- The blue wire (zero, denoted by the symbol N).
- Brown wire (phase, denoted by the symbol L).
- Yellow-green wire (ground, denoted by PE symbols).
To avoid further loosening of the contacts and short circuit, try to tighten the wires as follows.
The final stage of work
After connecting the wires, installation is carried outmost rosettes and fixing it with the remaining screws. In the same way, the installation of the sockets in the gypsum board, in the pre-made holes is carried out. When the electrical work is completed, it will only be necessary to put on the plastic frame and install the decorative fastening.

Advice of specialists
- Installation of electrical wiring is best done long before the plating of the walls with plasterboard panels.
- Before the beginning of electrical installation work, a frame of a metal profile is assembled, which will need to be fixed on the supporting surface.
- To protect the wires going to the switches, a metal corrugated tube is used.
- To connect the current to the electrical outlets a three-core cable is used in a double insulating winding.
- Fixing cables on the frame inside the plasterboard wall will give the design increased reliability. For this, copper wire runs are used.
As you can see, the installation of an outlet in a drywall -The process is simple and quite feasible at home. If there is a desire to gain experience in electrical work and save money on the call of a specialist, you can fully use these recommendations.