Mounting the LED strip: recommendations for selecting and installing the backlight
Select the type of main lighting and auxiliaryillumination can be attributed to one of the most important stages of repair work. If the lighting system provides for the presence of lamps, lamps and LED strips, it is necessary to develop a scheme for installing additional structures to which they will be installed. This principle is relevant if an LED strip is to be mounted on the ceiling.

Often used for this purpose gypsum cardboard. This is the simplest and most economical way to build interior niches and reliefs, especially when it comes to installing LED-backlights. Installation of the LED strip in this case consists in the correct assembly, connection of all the elements of the electrical circuit and its fixation inside the niche.
What is LED-backlighting
Today, LED lighting (Light Emitting Diode) is very popular. This is facilitated by many factors:
- High luminance brightness.
- Significant energy savings.
- Easy to install and maintain.
- Ecological compatibility.
- Security.
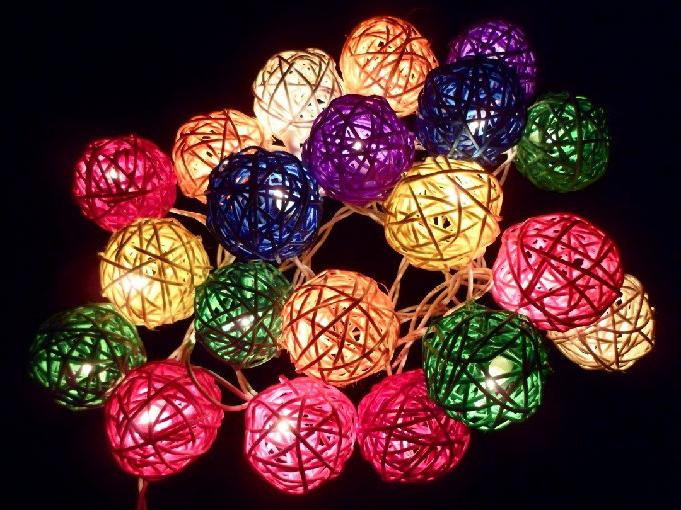
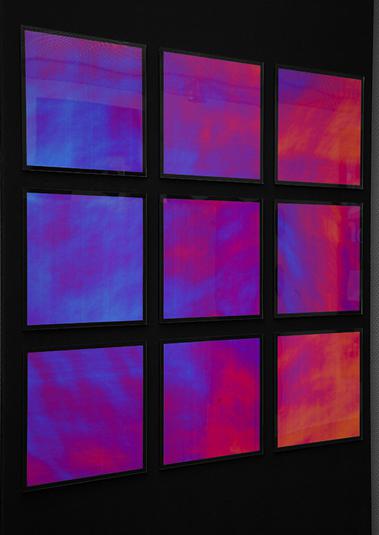
- Ability to use a multicolored backlight.

Manufacturers offer LED lampsthe most different purpose: from high-grade light bulbs with a standard cap to a variety of devices used for lighting. Fans of self-repair can most easily cope with the LEDs produced on the tape. Mounting an LED tape by one's own hands does not refer to difficultly executable operations. The main condition for effective and quality installation is careful compliance with the manufacturer's instructions and recommendations, as well as general rules for working with LEDs.
Types, bundling and cost of LED backlight
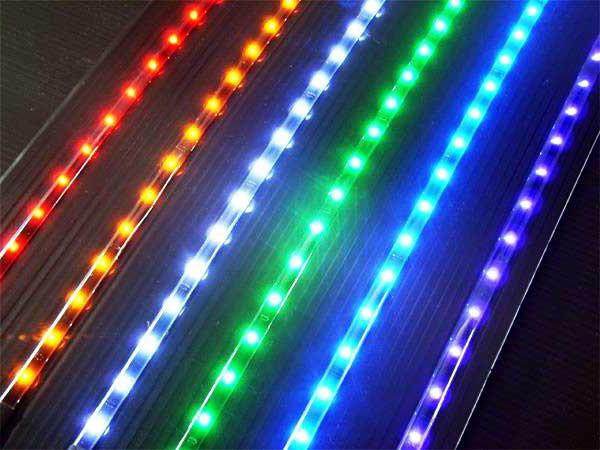
LED-tape consists of LEDs placed ina certain sequence on a flexible basis with a width of 8 to 20 mm. The thickness of the tape, calculated for the voltage of 12 V, does not exceed 3 mm, and the length of the hank is usually 5 m. High flexibility of the base, its small thickness and adhesive fragments on the reverse side greatly facilitate the installation of the LED strip. The price of such a design depends on several parameters:
- Type of LEDs and the level of their brightness (1-3 light-emitting crystals).
- The distance between the LEDs on the tape (30-120 lamps per meter).
- The width of the base and the number of rows along which the LEDs are located.
- The number of backlight colors available after connection.
- The degree of protection of the device from moisture (the presence of a silicone cover or cover).

Experts insist on buying onlyquality tapes: this directly determines the period of their operation. The cost of monochrome LED ribbons is from 90-600 rubles per meter, multicolor - 170-1300 rubles per meter. Installation of the LED strip necessarily involves the connection of a power supply unit, the main task of which is voltage stabilization and its conversion from 220V to 12V. The price of this illumination element also varies depending on the size and capacity: 170-500 rubles.
Importance of preparatory work
Before going to the store for toolsand materials for the organization of lighting, you should correctly calculate how much tape you will need to buy, what power the power supply should have and whether you need a controller.

In those cases where a tape is planned to be installedLED, sparkling with several colors, you can not do without a switch, a controller. With it, you can change the color and type of LEDs (from smooth burning to blinking or "chameleon" mode).
Calculation of power unit power
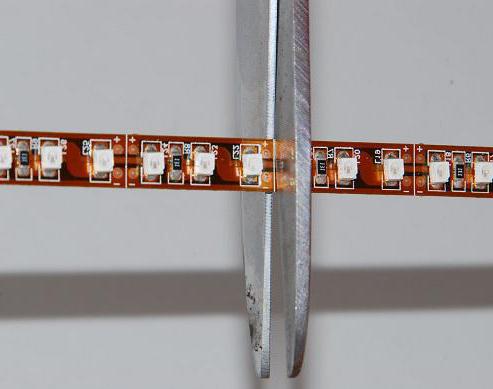
Power supply should be sufficientfor the correct functioning of the network, so its numerical value can be calculated by adding the power indicators of all the LEDs located on the tape. It is not recommended to connect in series the fragments of the tape, the total length of which exceeds 15 m. It is better to connect several shorter ones in parallel.
If it is necessary to shorten the tape, cut it in the designated places.
Specificity of installation works
Surface of wall, ceiling, countertops orfurniture, on which the installation of the LED strip will be done, should be clean and degreased. The tape should be fixed so that it can fully perform its functions. The light emitting angle of the LEDs reaches 120 degrees, so it is enough to determine the approximate mounting location. However, if you mistakenly place the illuminated will be the depth of the niche or the ledge of the ceiling, not the room.
In accordance with the recommendations of specialistsDirect installation of the LED strip is worth starting after assembling the entire circuit on the table or on the floor and checking its operability. During installation, the system must be disconnected from the network.
When installing the LED ribbon with your own hands, it is necessary to avoid too sharp kinks), since they threaten to damage the tape.
The design of the LEDs comprises an anode and a cathode,so the installer should carefully consider the polarity. LED strip, installed according to the rules, can provide long-lasting and high-quality lighting.